Development Process of Hngwy AV Project


For this project I was determined to design something that was truly audio reactive in real time, without the need for rendering out and effecting via post processing. And so in order to achieve this I decided that the Touchdesigner software would be best suited for this.
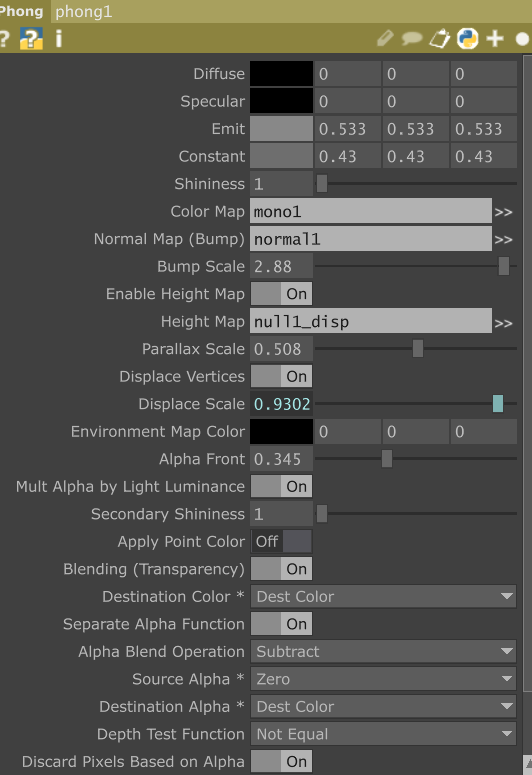
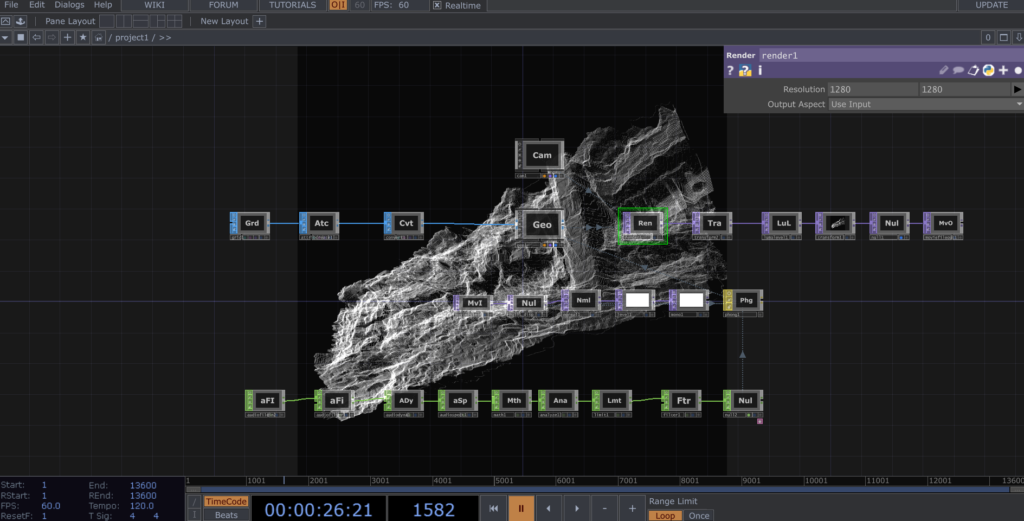
I began by importing the audio source directly into the software via a node branch that would allow for the raw audio file to be playing, and its subsequent output to be converted into more manageable data via a series of CHOP nodes that would limit this information into parameters that could later be used to effect the displacement scale of a phong material. In essence the audios output in decibels would now determine the strength of a visual effect by now producing values between 0 and 1.
Next I imported a video clip I had edited in premier pro of a drone flying through a disused building. This footage was then passed through both a ‘null displace’ and ‘normal’ node before each of these were allocated to the relevant attributes to the same phong material as before.
Finally in order to replicate the striking monochromatic feel from my previous work, I attached ‘level’ node to manipulate the brightness, contrast and gamma settings of the footage, before a ‘monochrome’ node was used and sent to the colour map of the phong material.
What this process achieved was a material that could be applied to an object that would have its colour and height map determined by each frame of the footage, and the displacement intensity determined by the level of audio input.
So next I had to create an object in which I could assign this constantly changing material. I decided on a simple 3d grid, as this would provide the clearest results for showing the movements being projecting onto the objects material.
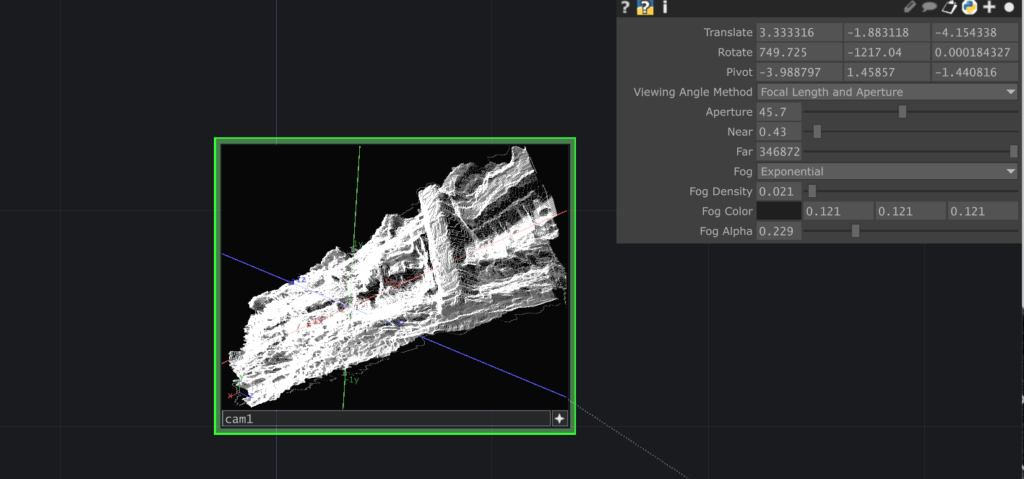
I created a grid with the same resolution as the original footage being used so as to not distort any of the details, and created a vertex point along each intersecting position of the grids rows and columns. Then once the Phong material was applied a simple render set up was introduced for lighting and a camera facing the grids surface at a slight angle so as to best capture the projected movements and surface displacements.


Finally all that was left to do was to set up a render out node followed by some further level nodes in order to fine tune the outputs brightness, contrast and gamma. Given the monochrome effect, the initial level manipulations had more of an impact on the definition and texture heights of the frames shown on the material. Therefor this final tweaking of the levels had more of an impact on the actual aesthetic of the projects output.