Development Process for Hang Tough Project

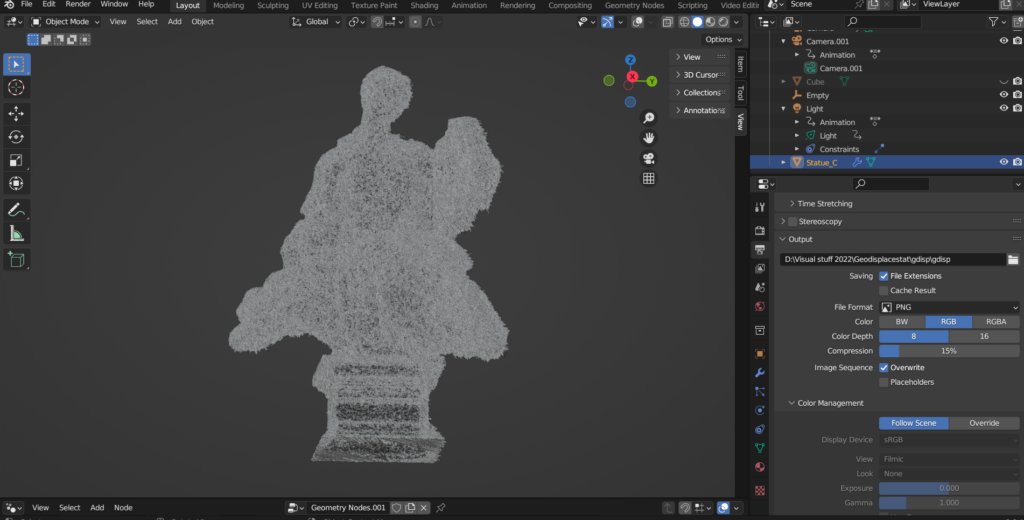
For this project I began by initially taking 3d scans of various statues and importing them into Blender. Next I used a relatively simple node set up in the software’s geometry editor in order to convert the mesh to curves. After this a combination of both Voronoi and noise textures were used in order to randomise these curves along models original surface.
The curves were then converted back to the original mesh using a ‘curve to mesh’ node alongside a ‘curve circle’ node to determine the diameter of each new branch along the now randomised geometry.
This effect gives the appearance of the model consisting of branches or veins, while still maintaining the statues original structure so as to not become unrecognisable by distorting the models overall shape.
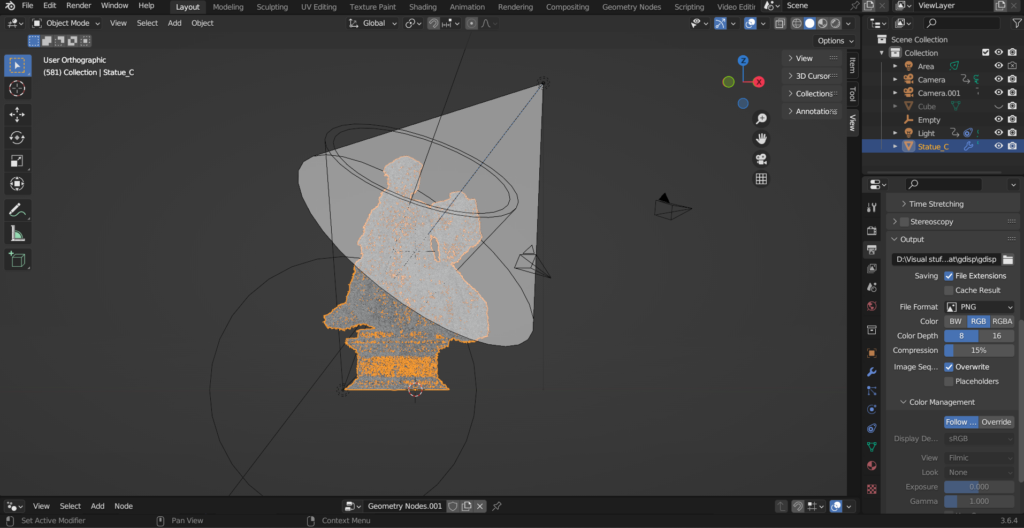
The next stage in this project was to set up the scenes lighting. Since I had decided to use a monochromatic palette, an effective and dynamic lighting set up was essential in bringing atmosphere and depth to the scene.
I decided to use a fill light positioned slightly below and behind the model pointing up towards it, along with a key light positioned slightly above and in front providing a clear focus on the subject. I decided to automate the key lights intensity and angle using keyframes along the timeline. This was to give an erratic and atmospherically striking mood to match the music in which this scene would be accompanying. Next a volume cube was added that would encompass the whole scene in order to provide further atmosphere through the use of volumetric lighting.
Finally I positioned a number of different cameras and used keyframing to plot out interesting paths passing around the model. Each one was focused to a different null object, and their field of depth adjusted depending on whether they were showcasing the subject up close or from afar.
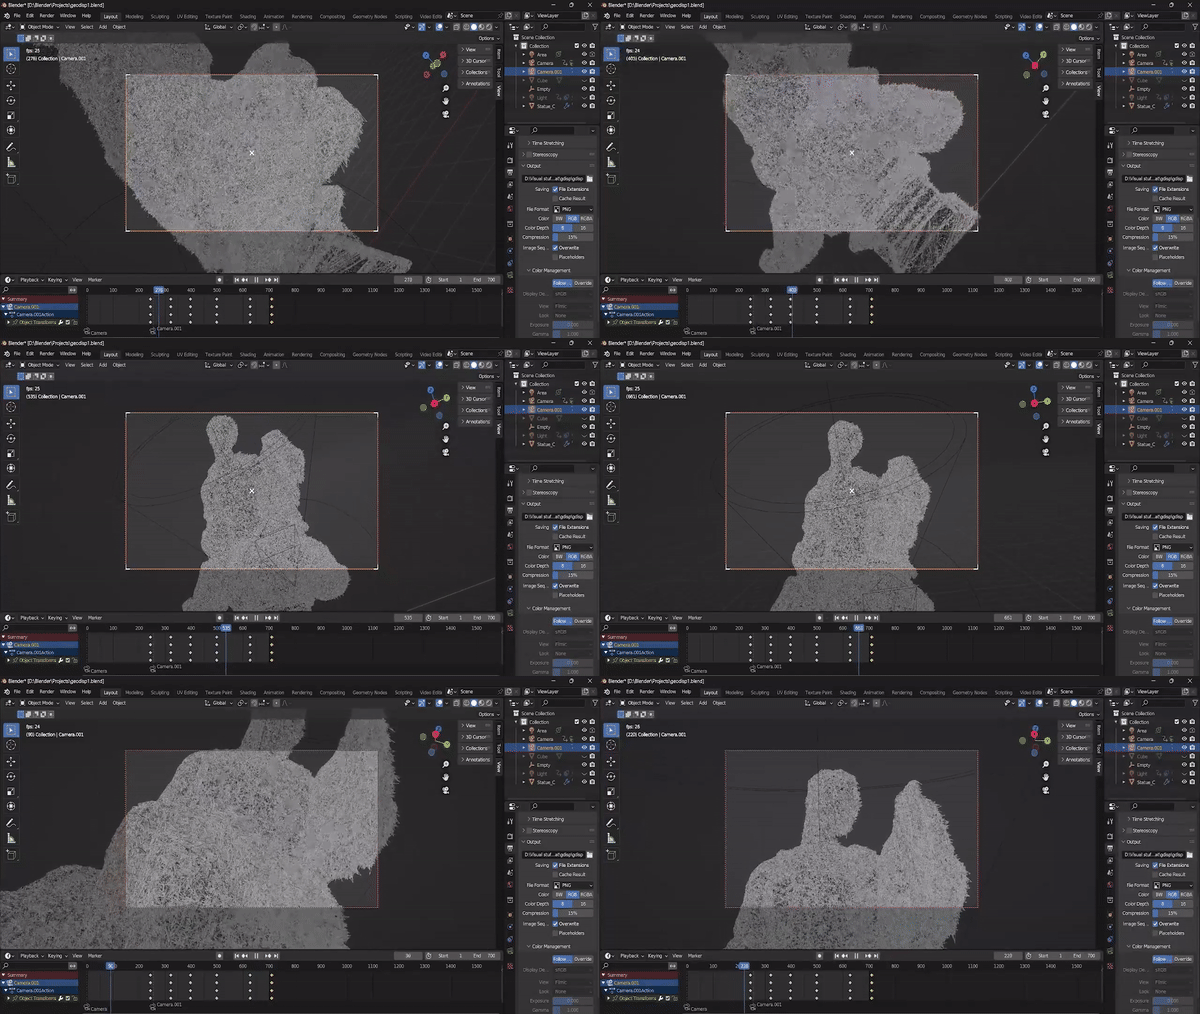
Once the individual scenes had been rendered out of Blender the next stage was to edit them together in Premier pro. I used a number of different rendered camera paths and cut them together with a snippet of the music from the record label.
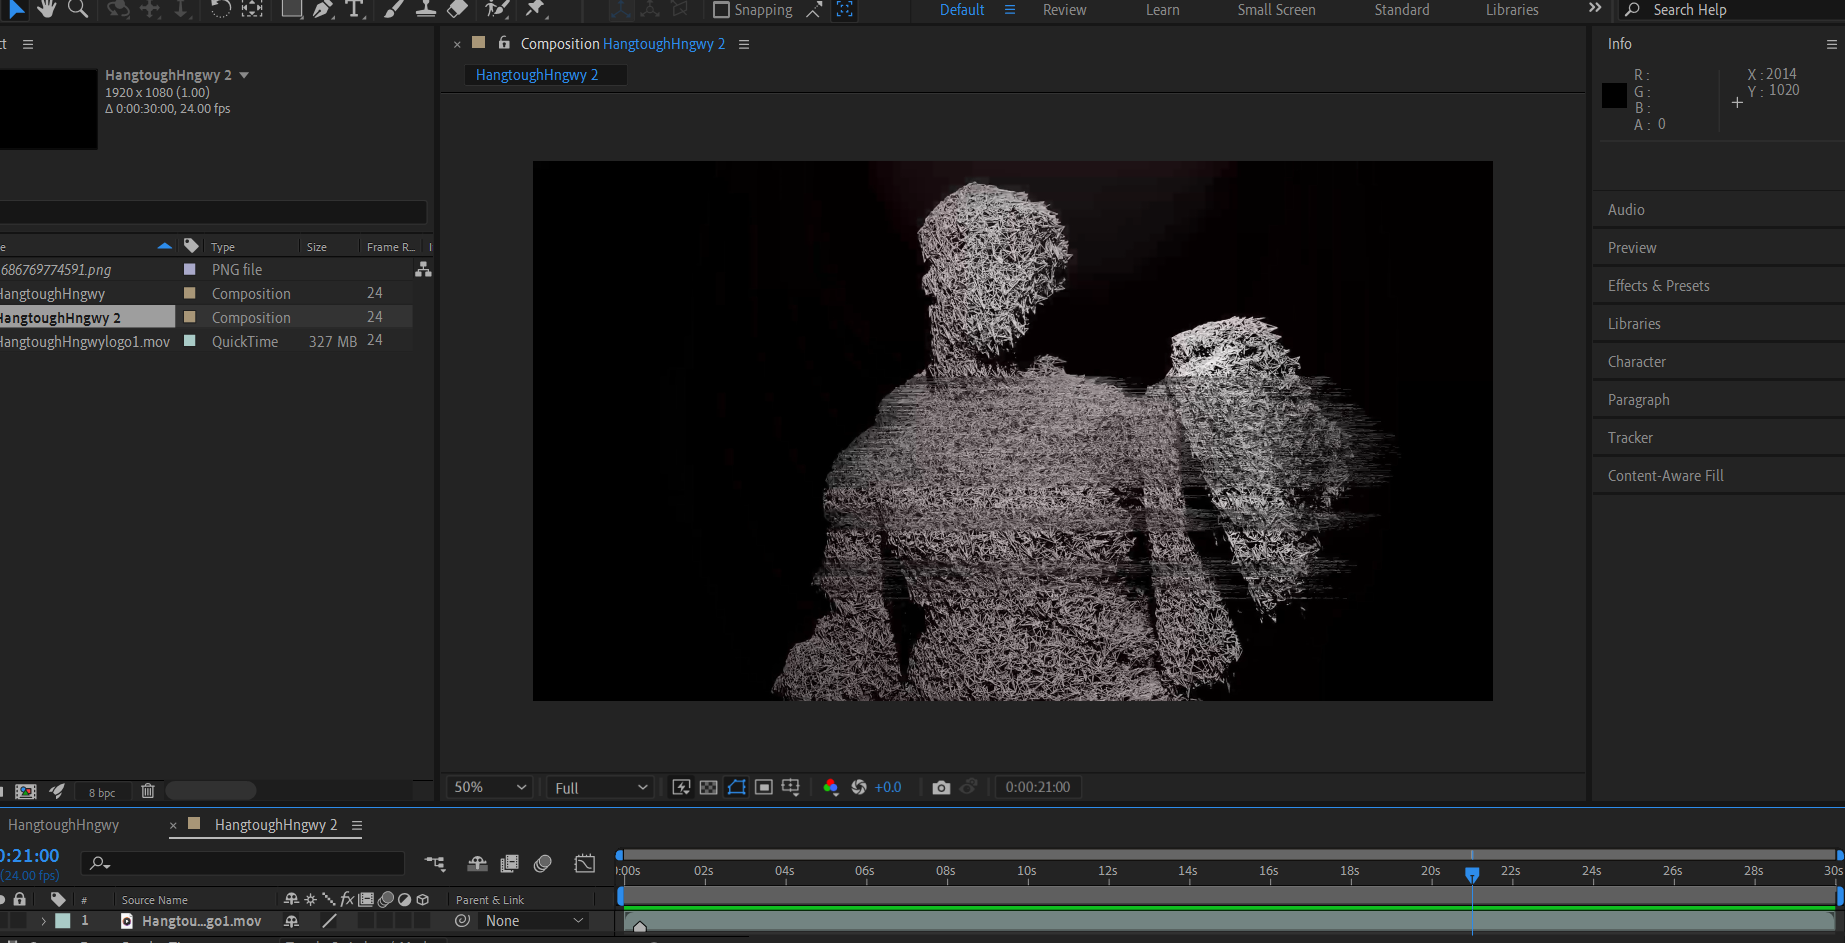
Next this footage was imported into a software called Resolume Arena so as I could automate visual effects and glitches in real time using the provided audio and midi data in order to manipulate which effects were present and their intensity.
The final step in this project was to import the effected footage out from Resolume and into Adobe After effects. Here I was able to finely tune the levels and speed of footage produced so far, before finally compositing the record labels logo over the final fade out of the clip.